
Difficulty: Easy Time: 10–15 minutes Tools Required: None Skill Level: Beginner
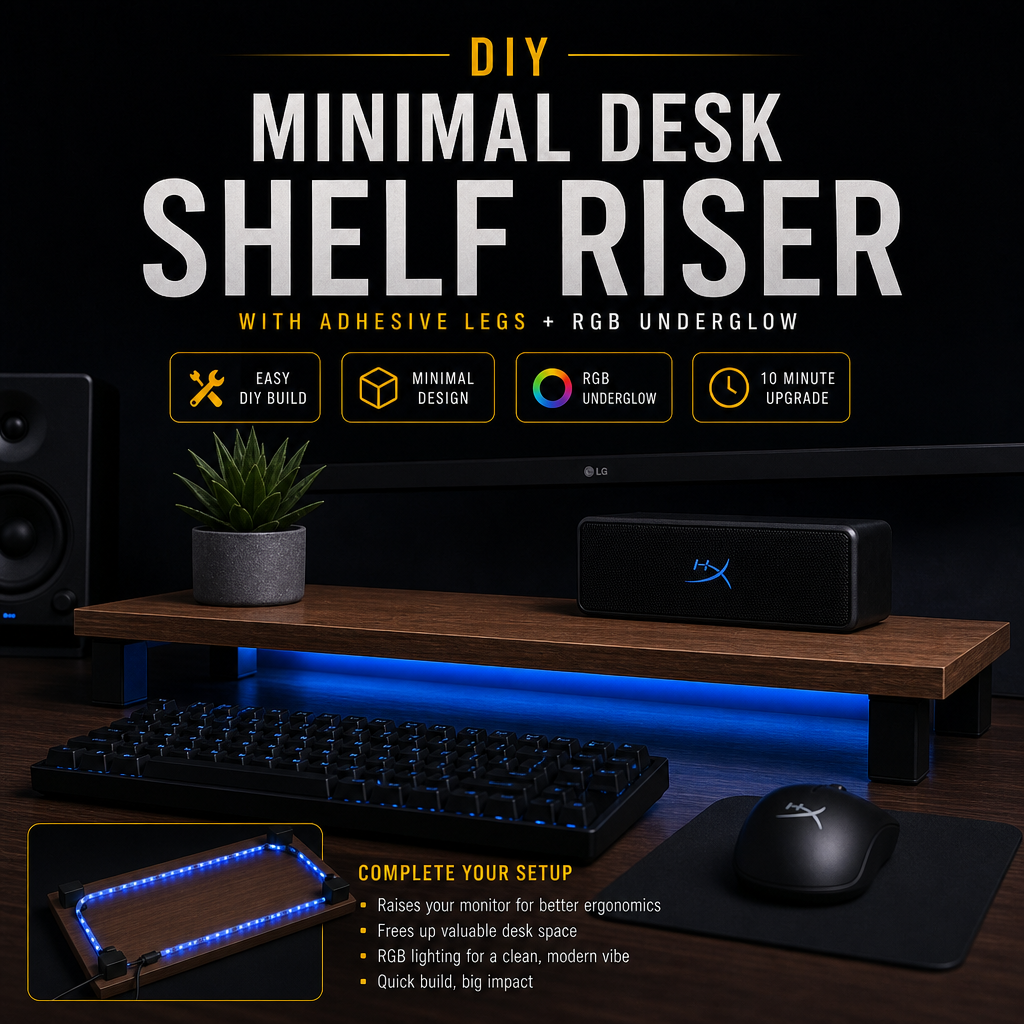
A clean, modern desk riser that adds height, organization, and style to your setup — built with no screws, no tools, and no woodworking. Just assemble, stick, and place.
Quick Options
Choose the version that fits your workspace:
- Single‑Monitor Riser — clean and minimal
- Dual‑Monitor Riser — wider, more support
- Laptop Riser — angled or flat
- Decor Shelf — for plants, figures, or speakers
Quick Build Summary
- Choose your riser board or panel.
- Add adhesive feet or riser legs.
- Center and level the platform.
- Add optional cable clips underneath.
- Place your monitor, laptop, or decor.
Overview
This project creates a minimal desk shelf riser using pre‑cut boards, adhesive riser legs, and optional cable management. It instantly adds height, storage space, and a clean aesthetic to your desk — without drilling, cutting, or tools.
Perfect for:
- Monitors
- Laptops
- Speakers
- Figures
- Charging docks
- Desk organization
Everything is adhesive‑based, so it’s renter‑friendly and easy to reposition.
What You’ll Need
- Shelf board or panel (wood, MDF, acrylic, or metal)
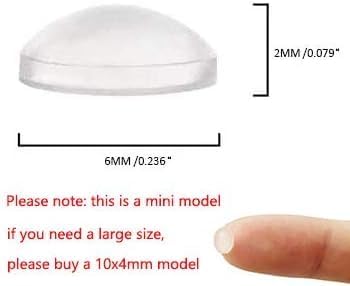
- Adhesive riser legs or rubber feet
- Nano tape (optional for extra grip)
- Cable clips (optional for underside routing)
- Anti‑slip pads (optional for stability)
All materials are inexpensive and available at Amazon, Walmart, IKEA, or hardware stores.
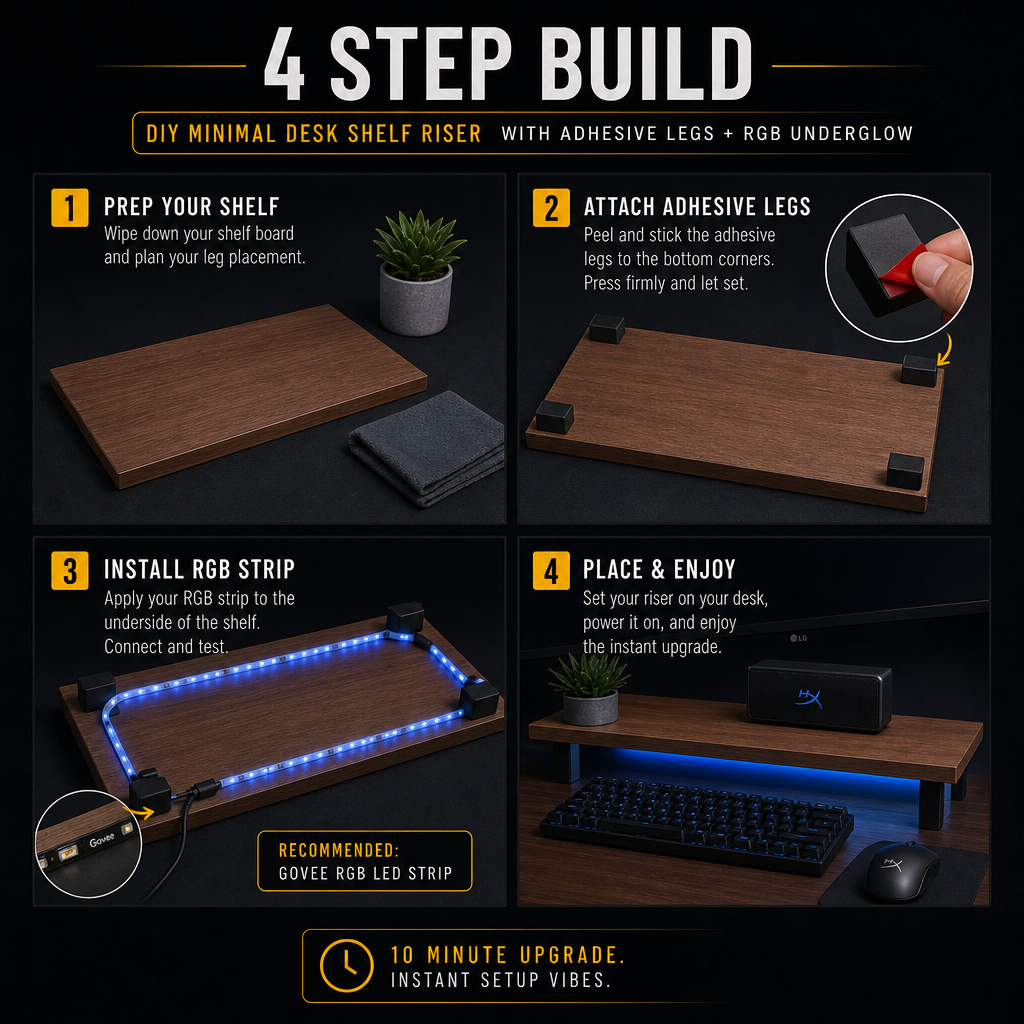
Step-by-Step Build
1. Choose Your Shelf Panel
Pick a board that matches your setup:
- 20–30″ for single monitor
- 35–45″ for dual monitor
- 12–18″ for laptop or decor
Materials that work well:
- Matte black MDF
- White laminated board
- Bamboo
- Acrylic (for a modern look)
2. Add Adhesive Riser Legs
Flip the board over and attach:
- 4 legs for small risers
- 6 legs for long dual‑monitor risers
Place them near the corners for stability.
3. Add Anti‑Slip Pads (Optional)
If your desk is smooth, add:
- Rubber pads
- Silicone dots
- Nano tape strips
This prevents sliding and keeps the riser centered.
4. Add Cable Clips Underneath
Stick 1–3 cable clips under the riser to route:
- Monitor cables
- USB hubs
- Charging cables
- RGB LED Strip
This keeps everything hidden and clean.
5. Place and Level the Riser
Set the riser on your desk and check:
- Height
- Centering
- Stability
- Clearance for keyboard or accessories
Adjust the legs if needed before the adhesive fully cures.
Shelf Boards / Panels

These pre‑cut boards make the perfect riser platform. Choose a size that fits your monitor setup — single, dual, or laptop.
Adhesive Riser Legs

Strong, tool‑free riser legs that instantly turn any board into a stable desk shelf. No drilling required.
Cable Management Clips

Stick these under the riser to route monitor cables, USB hubs, or LED strips for a clean, hidden look.
RGB LED Strip (Adhesive Under‑Glow)

I used this instead of anti‑slip pads. The adhesive backing has a grippy texture that stabilizes the riser while adding a clean RGB glow underneath.
Mounting Options
Option A: Single‑Monitor Riser
- 20–30″ board
- 4 adhesive legs
- Perfect for clean setups
Option B: Dual‑Monitor Riser
- 35–45″ board
- 6 adhesive legs
- Supports heavier weight
Option C: Laptop Riser
- 12–18″ board
- Add angled rubber feet for tilt
- Great for airflow and ergonomics
Option D: Decor Shelf
- 12–24″ board
- Use taller riser legs
- Perfect for plants, figures, speakers, or LED accents
Optional Upgrades
- Add an LED strip under the riser
- Add a USB hub mounted underneath
- Add a cable raceway behind the riser
- Add anti‑vibration pads for speakers
- Add a small drawer under the riser
Where This Fits in Your Setup
This riser works perfectly:
- Under your monitor
- Behind your keyboard
- As a dual‑monitor bridge
- As a decor shelf
- As a laptop stand
- As a charging station
It adds height, storage, and a clean, modern look to any desk.
Wrap‑Up
A simple, stylish upgrade that improves ergonomics, organization, and aesthetics — all without tools or complicated assembly.