
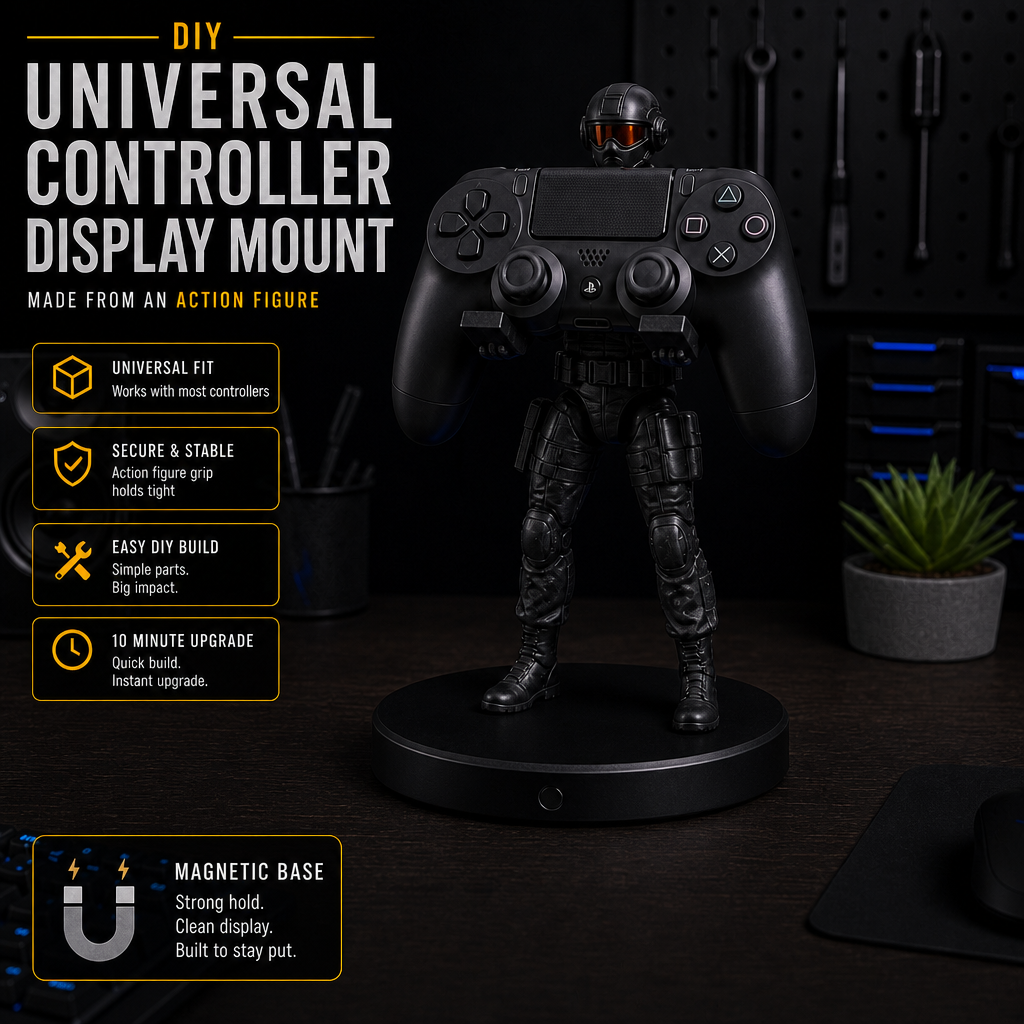
Turn almost any figure or statue into a custom controller mount — fast, cheap, and fully customizable.
Quick Options
Pick the path that matches how you like to build — instant, guided, or full DIY.
Quick Build Summary
- Mount your figure securely to a stable base.
- Let the glue or UV resin fully cure so nothing shifts.
- Test how the controller rests in the figure’s hands, arms, or pose.
- Adjust the angle so the controller sits balanced and upright.
- Once you like the pose, add grip and protection so it stays put and doesn’t scratch.

Overview
This Workshop Project shows you how to turn any small figure, statue, or decorative object into a functional controller display mount. No tools required, no 3D printing needed — just creativity and a few inexpensive materials.
This project works with superheroes, anime figures, robots, dragons, animals, geometric decor, retro toys — anything that stands upright and can support a little weight.
What You’ll Need
- A figure/statue/object that stands upright
- Your controller (Xbox, PS, Switch, 8BitDo, etc.)
- Optional: clear rubber bumpers for grip
- Optional: felt pads to protect controller finish
- Optional: nano tape for stability
- Optional: a small weighted or magnetic base
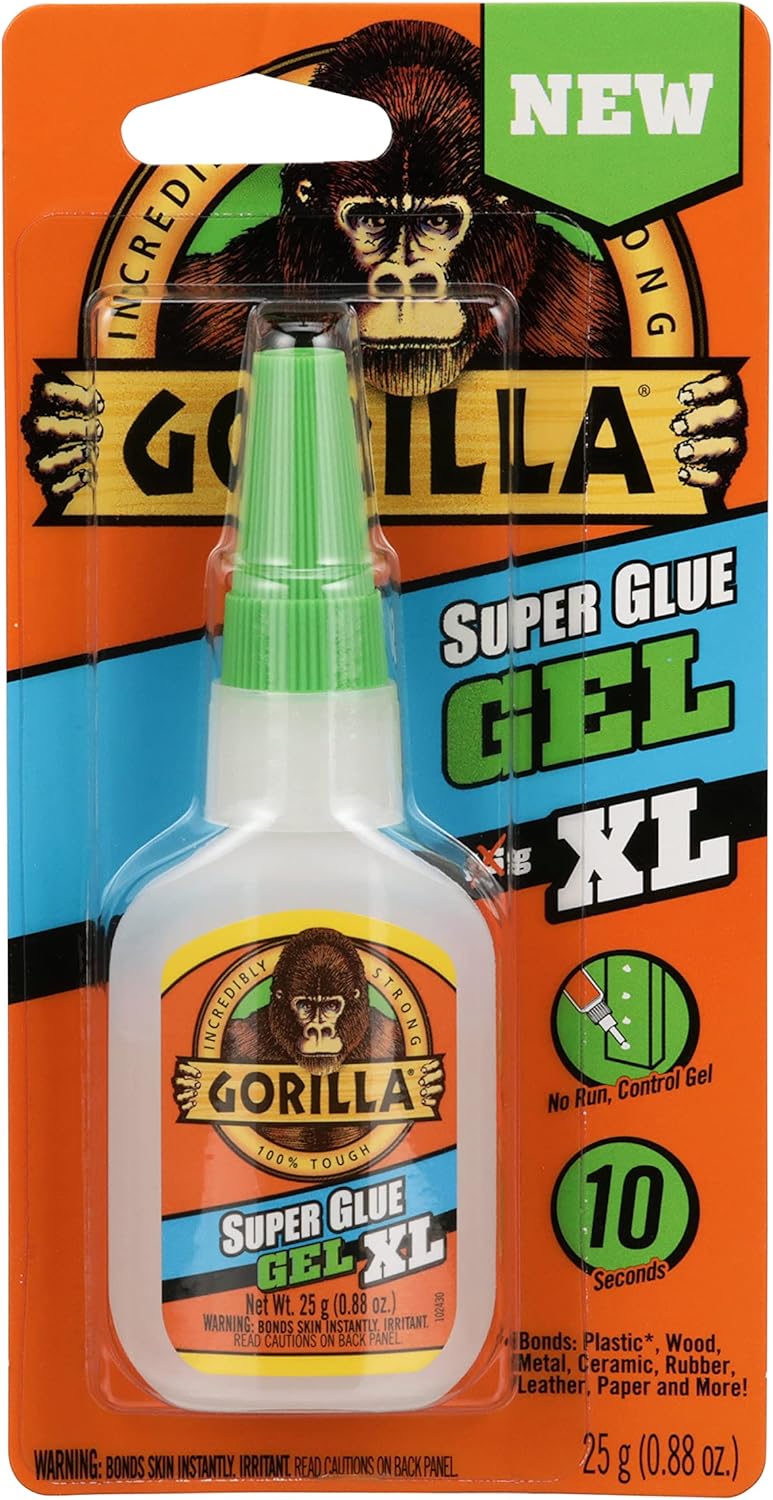
- Adhesive: gel superglue or UV resin with UV light
Everything here is cheap and easy to find at Walmart, Target, Dollar Tree, Amazon, thrift stores, or comic shops.

Step-by-Step Build
1. Choose Your Figure
Pick something that matches your style — superheroes, robots, dragons, animals, retro toys, or even minimalist shapes. If it stands upright, it can become a mount.
2. Test the Natural Fit
Place your controller on the figure and check balance, angle, and stability. This tells you what adjustments you’ll need and whether you should add a base.
3. Add Grip
Stick clear rubber bumpers where the controller rests. This prevents sliding and gives the mount a more intentional cradle shape.
4. Add Controller Protection
Use felt pads to prevent scratches or rubbing on your controller or the figure’s paint.
5. Stabilize the Base
If the figure is lightweight, add a weighted or magnetic base, or use nano tape under the feet for stability. The goal is zero wobble when the controller is placed or removed.
6. Final Fit & Angle
Adjust the controller until it sits centered, balanced, and visually clean. You’ll know it’s right when it looks intentional and doesn’t feel like it’s about to slide off.
Premade Controller Holders

Perfect for anyone who wants a ready‑to‑use stand with zero DIY. These are stable, stylish, and instantly upgrade your setup.
Magnetic Mount Base

A heavy, stable base that works with almost any figure. Ideal for people who want a secure mount but aren’t sure how to attach one.
Adjustable Controller Mount

Gel glue, UV resin bond, or Nano Double Sided Adhesive Tape, and adjust the wire instead of Gluing the figures arms in place
DIY‑Friendly Figures

Simple, widely available figures anyone can use for the project. Great for beginners or budget builds.
Mounting the Figure to the Base
This is where the build goes from “cute idea” to a solid, reliable mount. Take your time here so the figure never shifts or tips.
Option A: Gel Superglue
- Clean the bottom of the figure’s feet and the base surface with rubbing alcohol to remove dust and oils.
- Lightly sand the contact points on both the feet and the base for better adhesion.
- Apply gel superglue (not thin liquid — gel stays where you put it and grips better).
- Press the figure onto the base in the exact position you want and hold for 20–30 seconds.
- Make sure the figure is straight and not leaning. Adjust now, before the glue sets.
- Let it cure for at least 10–15 minutes before placing a controller on it.
Optional:
- Add a small bead of glue around the edges of the feet for extra strength.
- For hollow figures, fill the feet with hot glue first to reinforce them before gluing to the base.
Option B: UV Resin (Instant Cure)
UV resin is great if you want a fast, clean bond and you have a UV light.
- Prep the surfaces the same way: clean with rubbing alcohol and lightly sand the contact points.
- Apply a thin, even layer of UV resin to the bottom of the figure’s feet or the base where they will sit.
- Place the figure on the base in the exact position you want. Take a moment to check alignment from the front and sides.
- Hold the figure steady and cure the resin with a UV light. Start with short bursts while you keep it perfectly still.
- Once the initial cure locks it in place, do a longer cure around the feet to fully harden the resin.
- After curing, gently test the bond. If there’s any flex, add a small fillet of resin around the feet and cure again.
The key with UV resin is to keep the figure from shifting while the first cure happens. Once it’s locked, you can build up strength around the base of the feet.
Using Magnetic Camera Bases
Magnetic camera bases are a great shortcut if you want weight, grip, and flexibility in one piece.
How to Use Them: Some bases come with a ¼‑20 screw. If your figure doesn’t have a threaded hole, remove the screw and use the flat surface as a glue pad with superglue or UV resin. If your figure does have a threaded insert (rare but awesome), you can screw it directly on for a super‑clean, removable mount.
Optional Upgrades
- LED accent lighting for a dramatic glow behind or under the figure
- Mini display base with a nameplate or themed background
- Magnetic quick-swap system so you can change figures or controllers without rebuilding
Where This Fits in Your Setup
This mount works great on a gaming desk, shelf, controller collection area, or next to retro handhelds. It adds personality without clutter and turns a regular figure into part of your loadout.
Wrap-Up
This universal controller display mount is the perfect first Workshop Project — easy, cheap, customizable, and fun. Mount the figure solidly, let it cure, then pose the controller until it looks like it was always meant to be there.