
Difficulty: Medium Time: 90–150 minutes Tools Required: None Skill Level: Intermediate
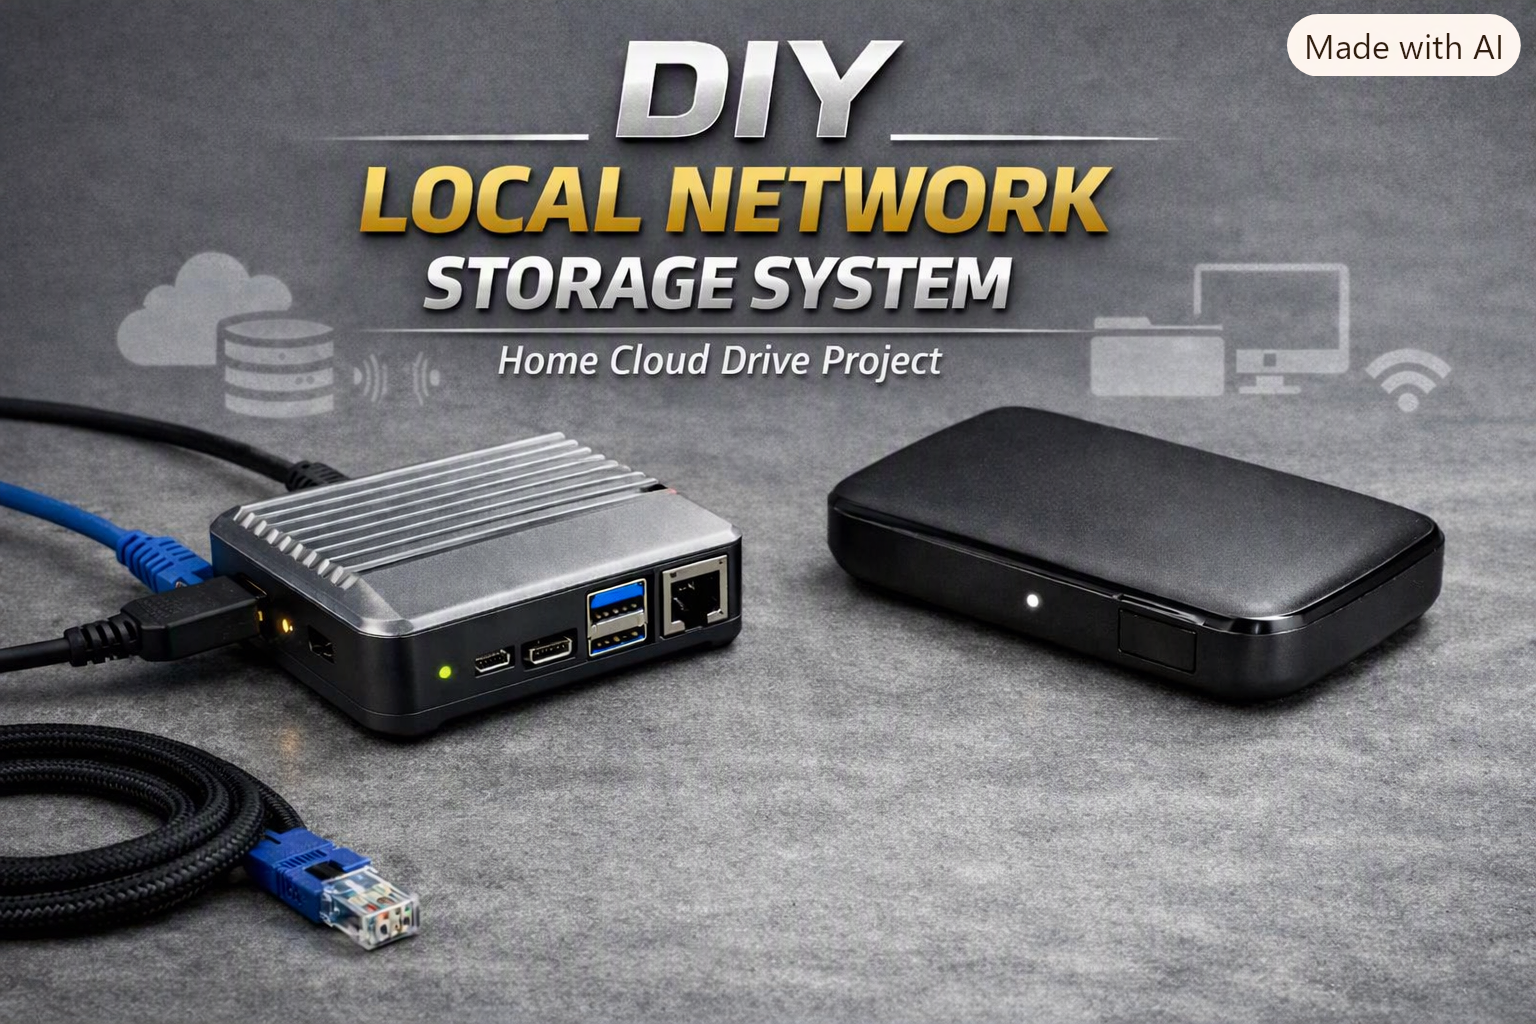
A simple, secure, and private home network storage system built using a Raspberry Pi and Samba (or OpenMediaVault). This project is perfect for makers who want a personal “cloud” drive accessible from any device in their home — without paying monthly fees or relying on third‑party services.
Quick Verdict
If you want a private, always‑on storage solution for photos, videos, and backups, a DIY Local Network Storage System is a fantastic project. It gives you full control over your data, works with any PC or phone, and costs far less than commercial NAS devices.
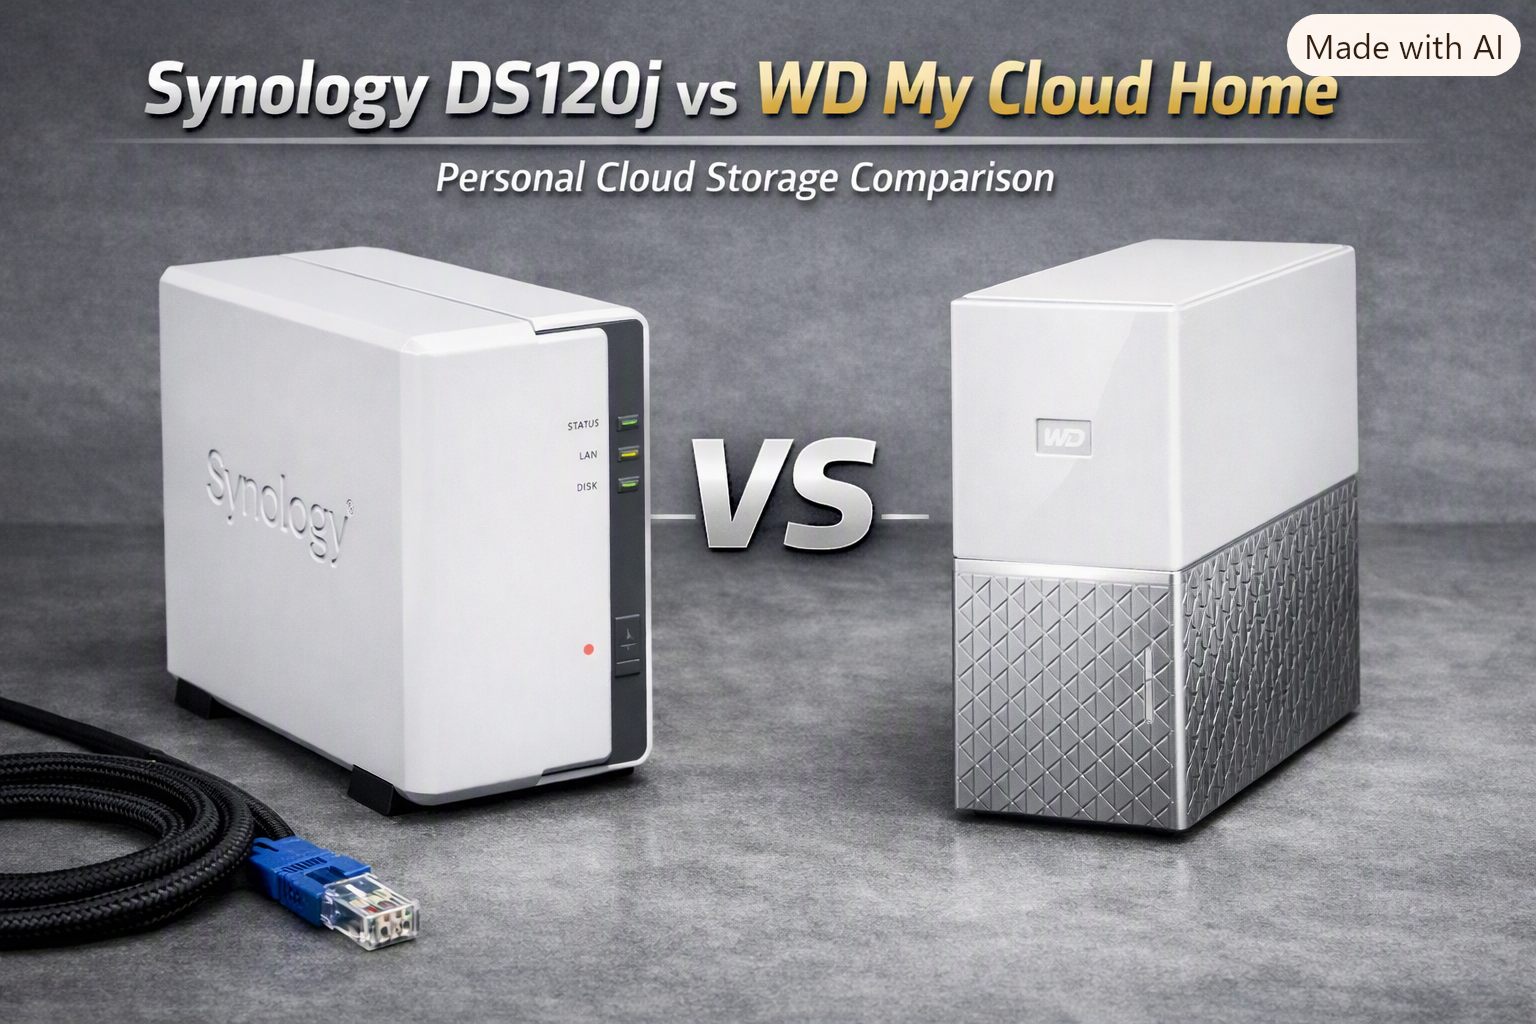
But if your goal is plug‑and‑play simplicity, pre‑built NAS units like the Synology DS120j or WD My Cloud Home are easier to set up and include built‑in apps. DIY is for flexibility and learning. Pre‑built is for convenience and polish.
What You’re Building
A compact, low‑power network storage system that:
- Keeps your data private and offline
- Shares files across all devices on your home Wi‑Fi
- Acts as a backup drive for photos and videos
- Can stream media to TVs and consoles
- Runs 24/7 with minimal power use
- Uses open‑source software (Samba or OpenMediaVault)
Parts List
| Component | Purpose |
|---|---|
| Raspberry Pi 4 (4 GB or 8 GB) | Main system |
| 128GB microSD card | OS + boot storage |
| External USB drive (1–5 TB) | Main data storage |
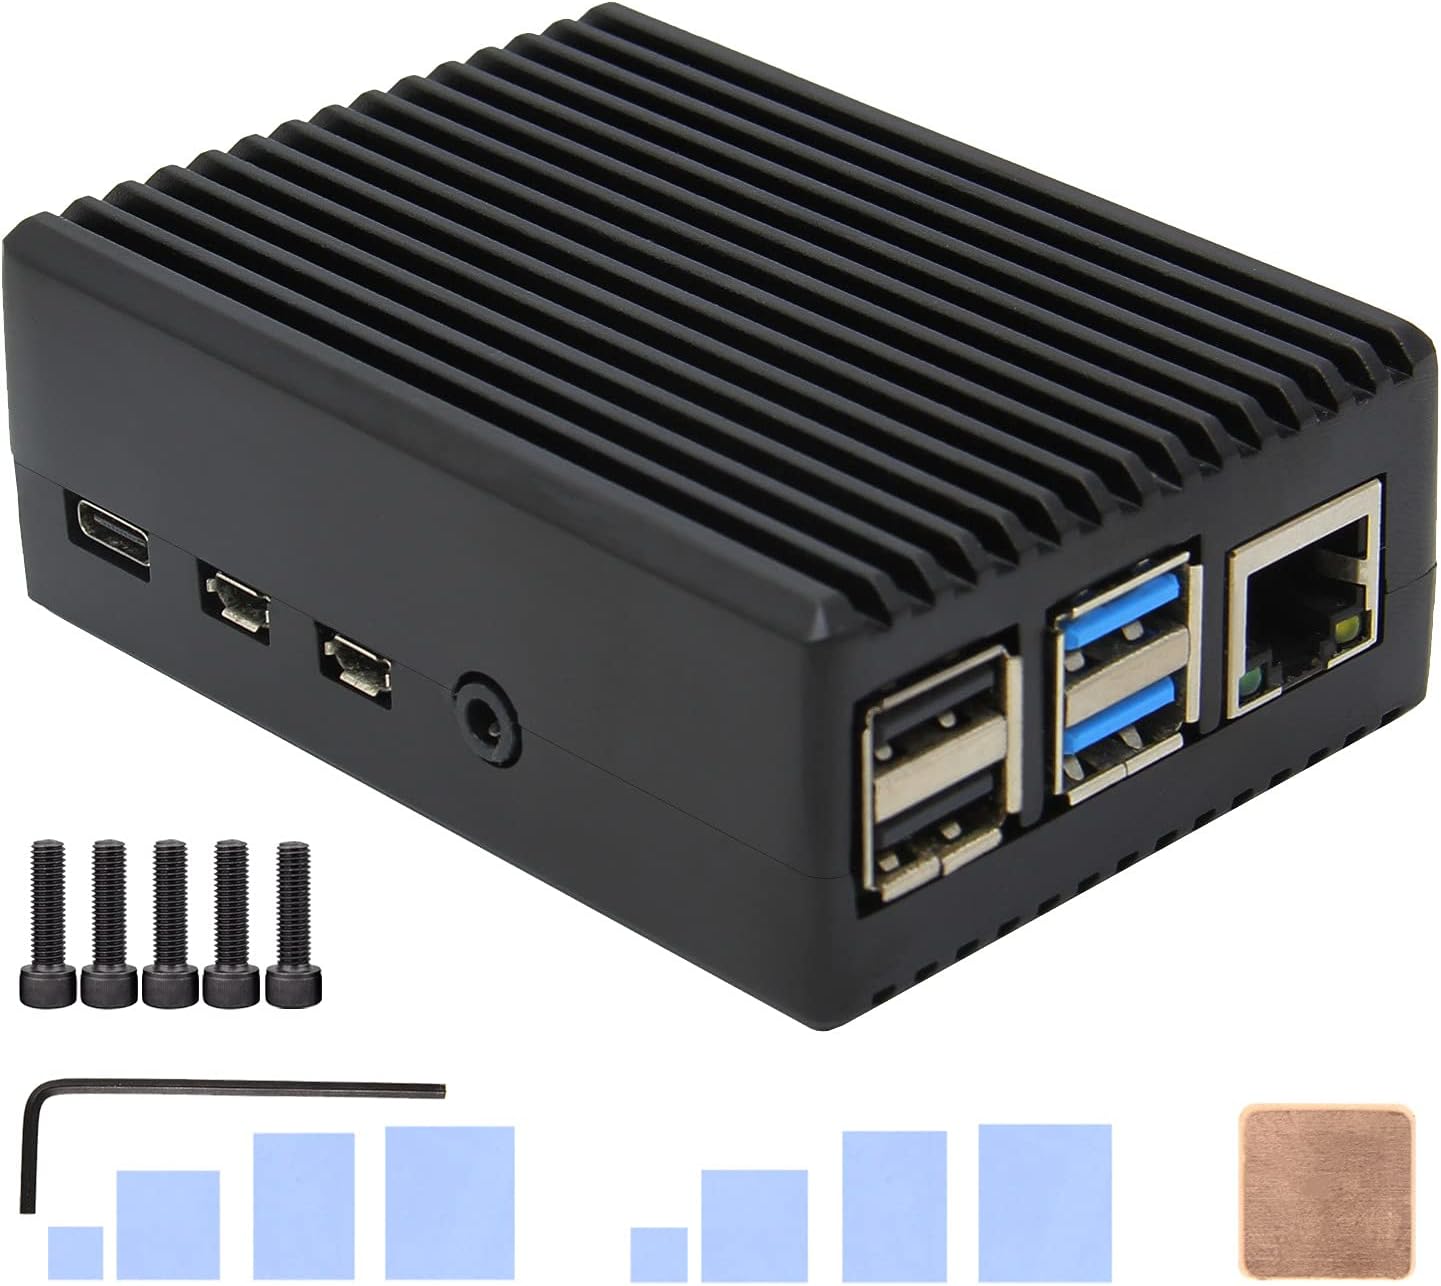
| Case + heatsinks | Cooling + protection |
| 5 V 3 A power supply | Stable power |
| Ethernet cable | Faster file transfers |




Tools Needed
- Computer with SD card reader
- Raspberry Pi Imager
- Internet connection
- Optional: small screwdriver (for case assembly)
Official Downloads
OpenMediaVault
- Download: https://www.openmediavault.org/download.html
- Documentation: https://docs.openmediavault.org/
Raspberry Pi Tools
- Raspberry Pi Imager: https://www.raspberrypi.com/software/
- Hardware info: https://www.raspberrypi.com/products/
Step‑by‑Step Build Guide
1. Flash the OS
Use Raspberry Pi Imager to install OpenMediaVault or Raspberry Pi OS Lite onto your microSD card.
2. Assemble Your Pi
Install the case, heatsinks, and insert the microSD card.
3. First Boot
Connect Ethernet → power on → wait for the Pi to boot. Find its IP address using your router or the arp -a command.
4. Install Storage Software
If using Raspberry Pi OS, install Samba:
bash
sudo apt update
sudo apt install samba samba-common-bin
If using OpenMediaVault, access the web interface at http://<your_pi_ip>/ and follow the setup wizard.
5. Mount Your External Drive
Plug in your USB drive and mount it under /mnt/storage or through OpenMediaVault’s “File System” tab.
6. Create Shared Folders
Set up shared folders for:
- Photos
- Videos
- Documents
- Backups
Enable SMB/CIFS access so Windows, macOS, and Android devices can connect.
7. Test Access
From any PC, open File Explorer and type:
Code
\\raspberrypi\storage
Enter your username and password — your home cloud is live.
Tips & Notes
- Ethernet is faster than Wi‑Fi for large transfers
- Use a powered USB hub for multiple drives
- Enable automatic backups with rsync or Time Machine
- Add a small fan if your Pi runs warm
- Keep your data safe with periodic external backups
Cost Analysis
| Component | Cost |
|---|---|
| Raspberry Pi 4 | $60–$80 |
| microSD card | $10–$15 |
| External USB drive | $50–$120 |
| Case + cooling | $10–$20 |
| Power supply | $10–$15 |
| Ethernet cable | $8–$12 |
Total DIY Cost: $150–$250
This gives you a private, expandable, always‑on home storage system — no subscriptions, no data mining, and full control.
Pre‑Built Local Network
If you just want to plug it in with little configuations Check out these options and the comparison
Synology DS120j
- Tech‑savvy users who want full control over their NAS
- Small offices needing centralized backups
- Media enthusiasts streaming to TVs or Plex
- DIY builders who prefer upgradeable hardware
WD My Cloud Home
- Families who want simple photo/video backup
- Casual users who prefer plug‑and‑play setup
- Mobile users who access files remotely
- Anyone who wants cloud‑style storage without subscriptions
Final Recommendation
If you value privacy, flexibility, and learning, the DIY Local Network Storage System is one of the most rewarding home tech builds you can do.
It’s a perfect weekend project that turns a Raspberry Pi into your own personal cloud.